File Management
LAB TIME: 15-20 MINUTES
MANAGING YOUR FILES WITH BLACKBOARD LEARN'S CONTENT COLLECTION
|
IntroductionCNM Learn grants instructors access to Content Collection, a feature where instructors can store, access, and share files between courses, users, or across the institution. By using compressed PDF files in Content Collection, instructors can minimize their amount of storage use, give students smaller files, and update their course materials (for multiple sections!) all from one location at any moment.
|
Step One: Save As
In this lab we will use a .DOCX file. The same process applies to spreadsheet and slideshow files. Open the .DOCX file in your Word Processor.
Head over to File so you can Save your file as a PDF.
PDFs have a small file size and are perfect for content that the end user does not need to edit or modify. Make sure you save it to a location you can find again.
Head over to File so you can Save your file as a PDF.
- Microsoft Office (2010 & older): File > Save As > PDF
- Microsoft Office (2013 & newer): File > Export > Create PDF/XPS Document.
- Apple Pages/Numbers/Keyonote: File > Export To > PDF.
- Google Docs/Sheets/Slides: File > Download As > PDF.
PDFs have a small file size and are perfect for content that the end user does not need to edit or modify. Make sure you save it to a location you can find again.
HERE ARE SOME EXAMPLE SCREENSHOTS:
COMPRESSION TIP: Sometimes saving a file as a PDF can increase the file size or keep it about the same. SmallPDF.com is a cool, free, and easy-to-use tool to reduce your PDF file size in a matter of seconds.
BULK CONVERSION TIP: If you have Adobe Acrobat on your computer, you can go to File > Create > PDF from File to convert any document, including images! You can also Combine Files into a Single PDF or Create Multiple PDF Files. Adobe Acrobat is free, so if you want to bulk convert files you should take advantage of this tool.
Step Two: Content Collection
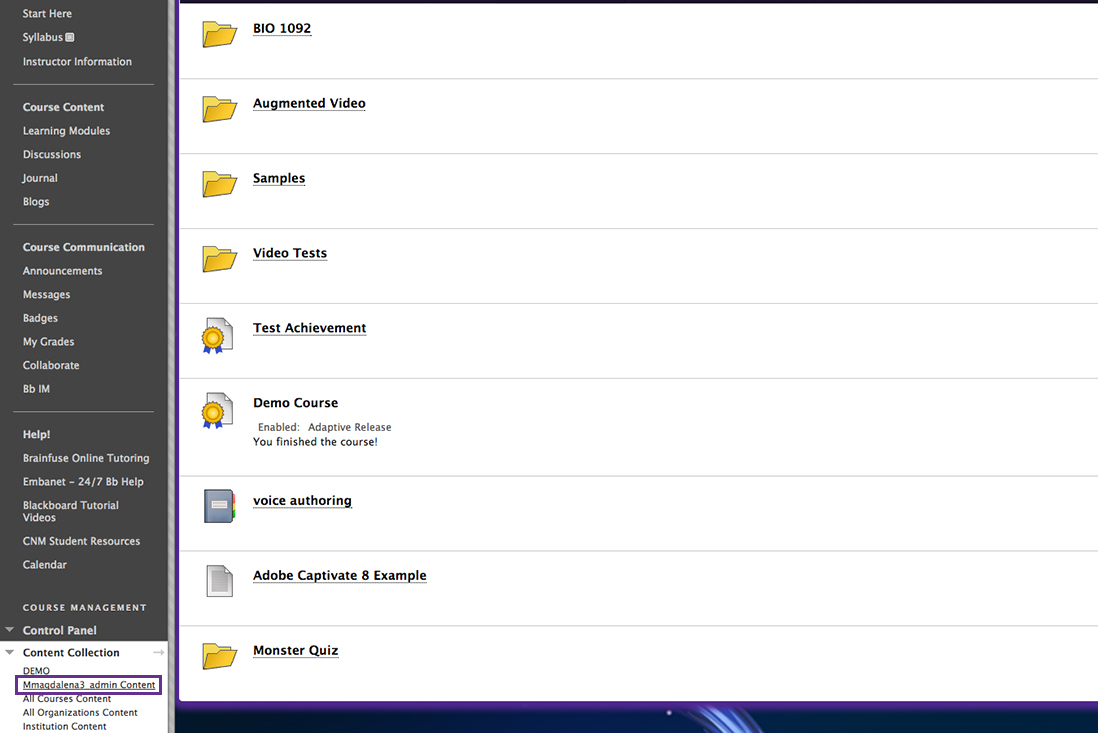
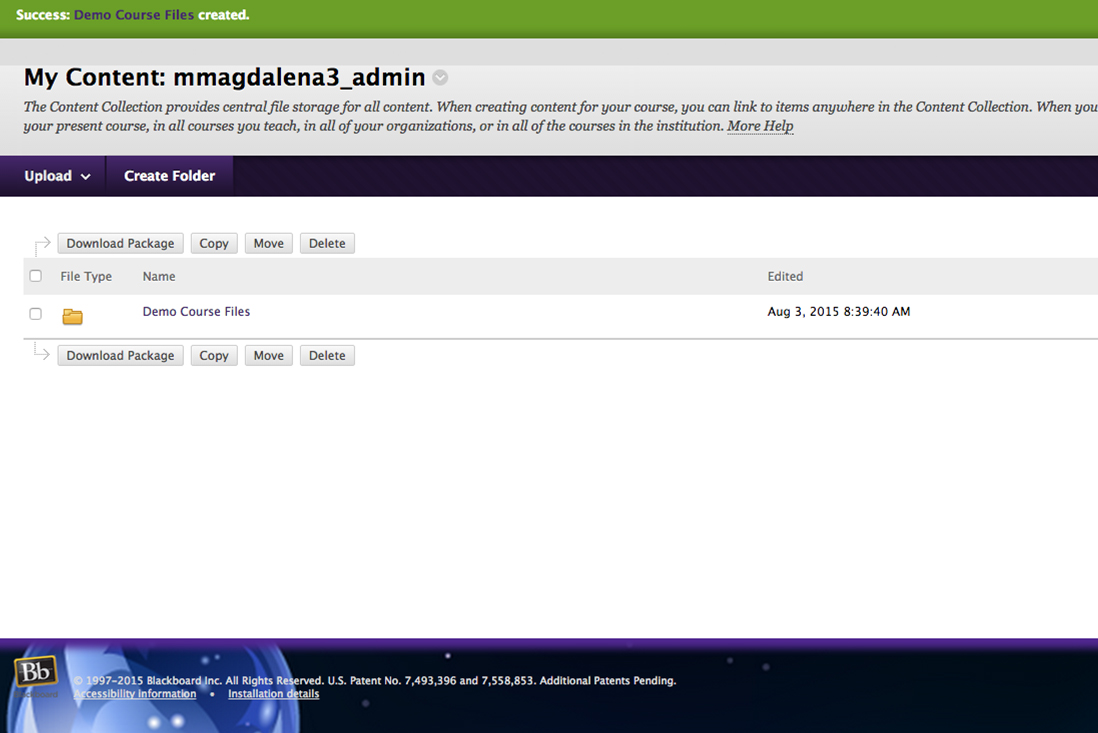
Go to your CNM Learn destination course for your files. When the course is open, go to Course Management > Content Collection > Your Username's Content.
Create folders for your content. Depending on what you will be including in your courses, you may want folders for different courses, topics, or even types of documents.
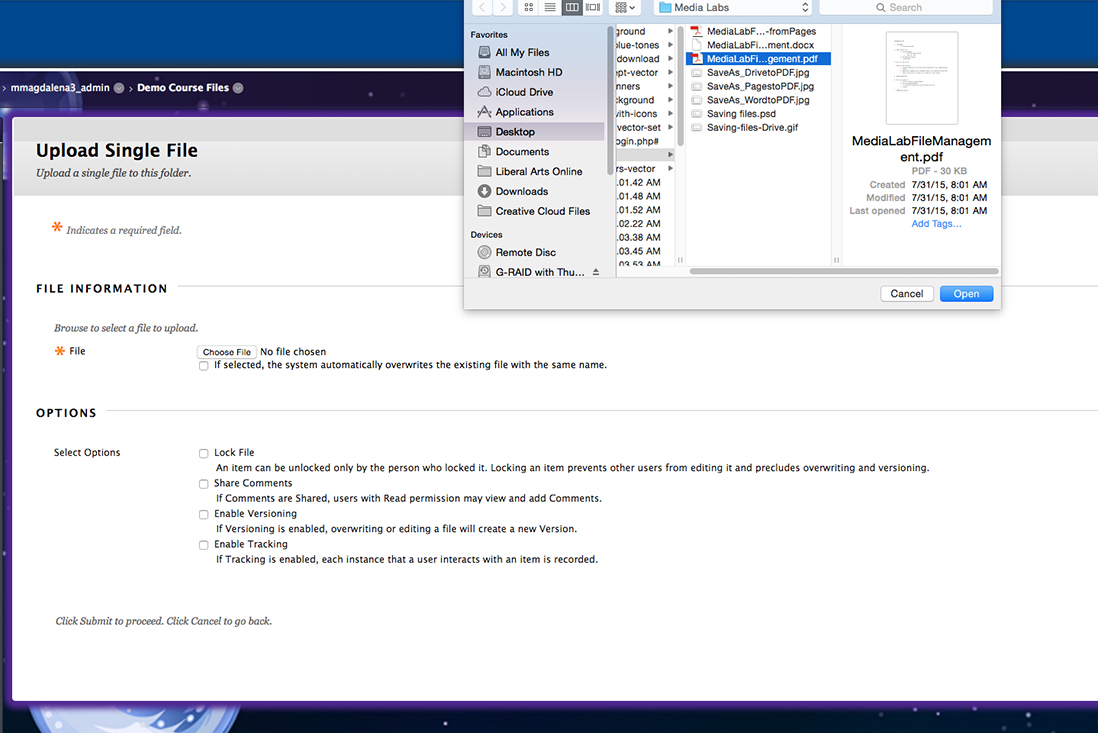
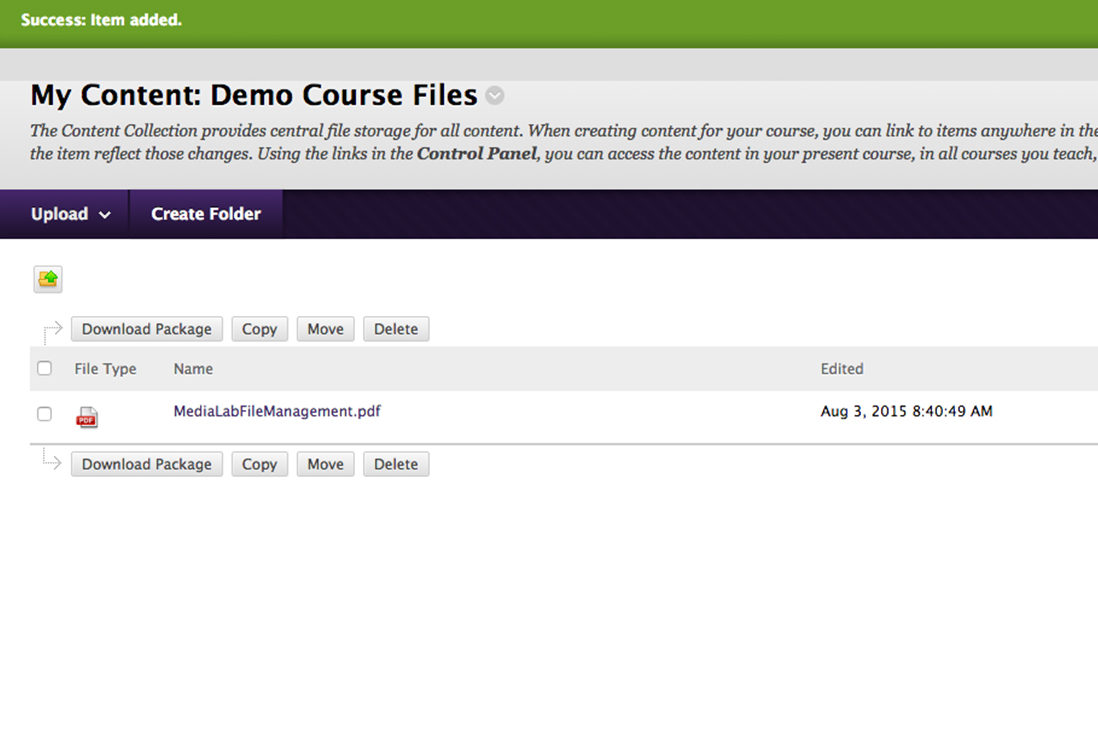
In the new folder(s), upload your files. You'll see a success message if your file uploaded successfully.
Create folders for your content. Depending on what you will be including in your courses, you may want folders for different courses, topics, or even types of documents.
In the new folder(s), upload your files. You'll see a success message if your file uploaded successfully.

Step Three: Add to Course
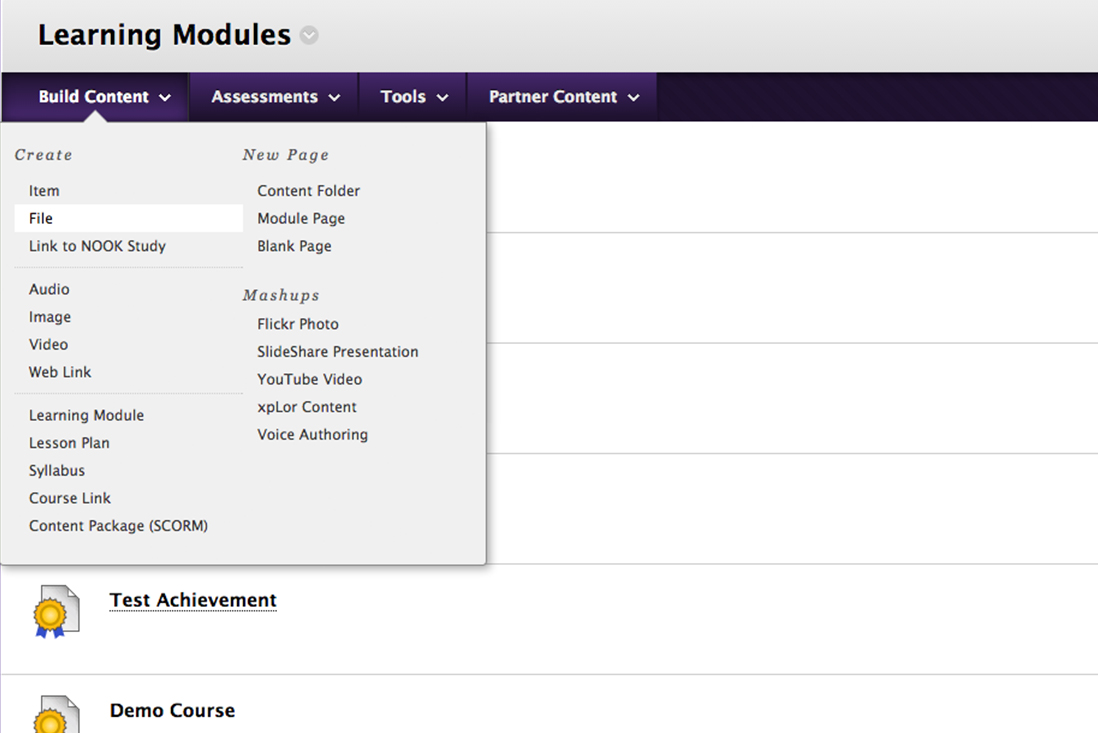
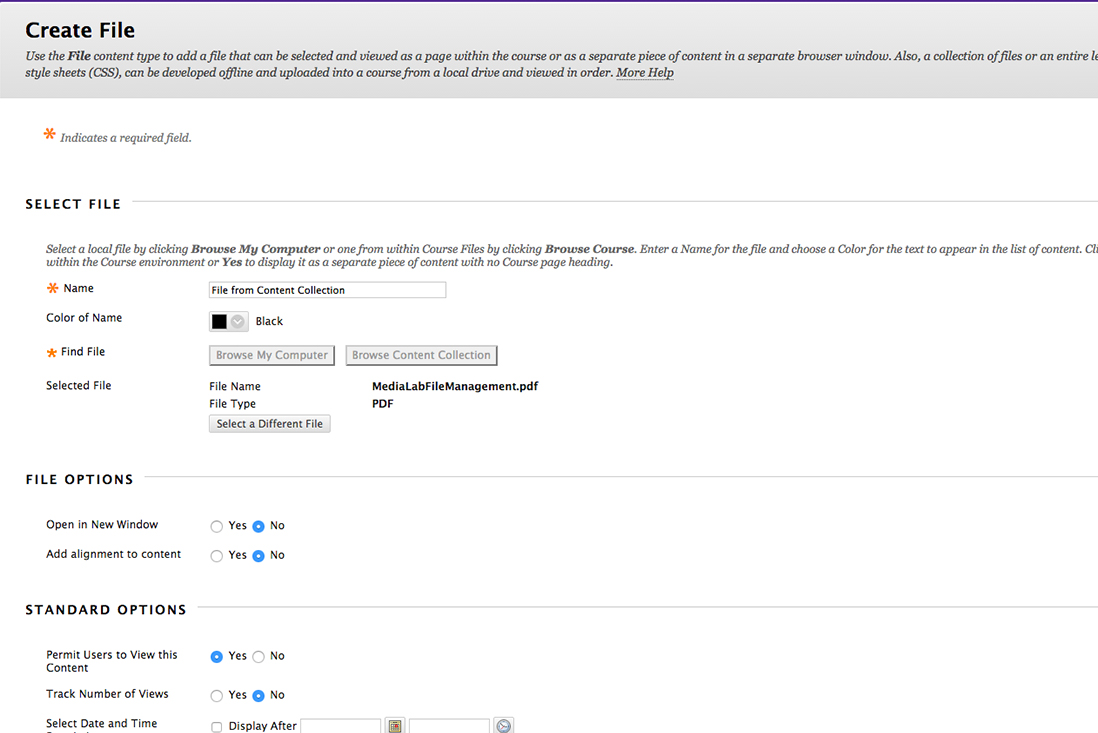
In your course, under Learning Modules, create a new Item or File. (If additional text needs to be provided use Item.)
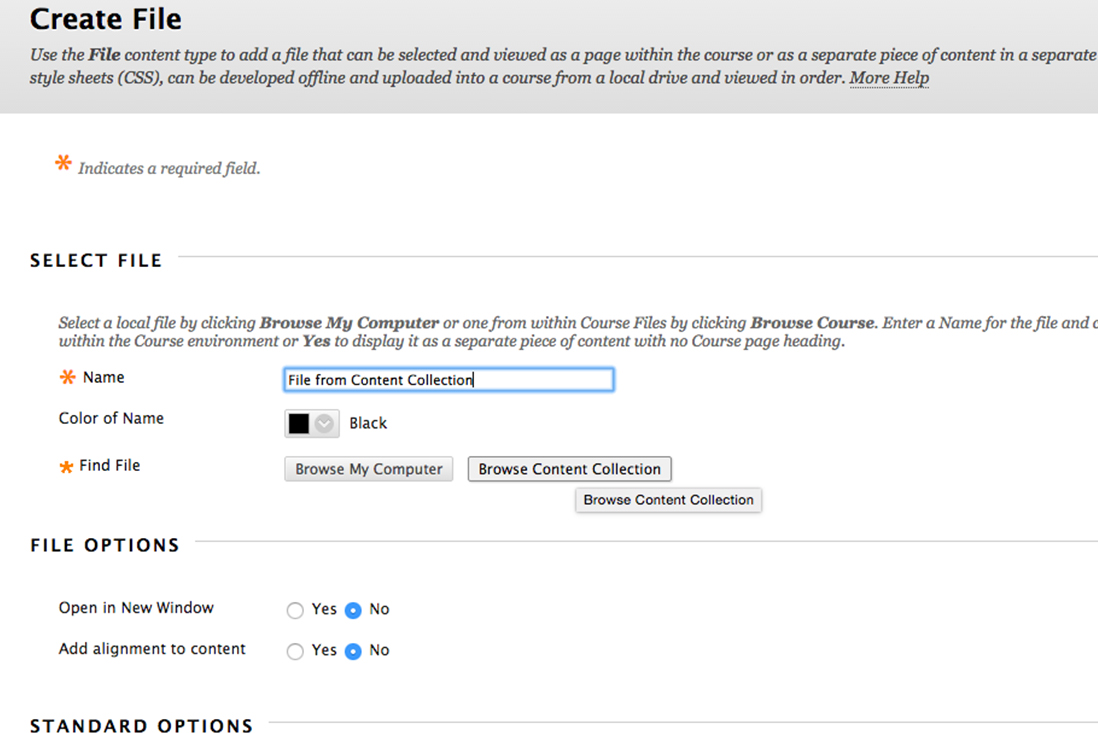
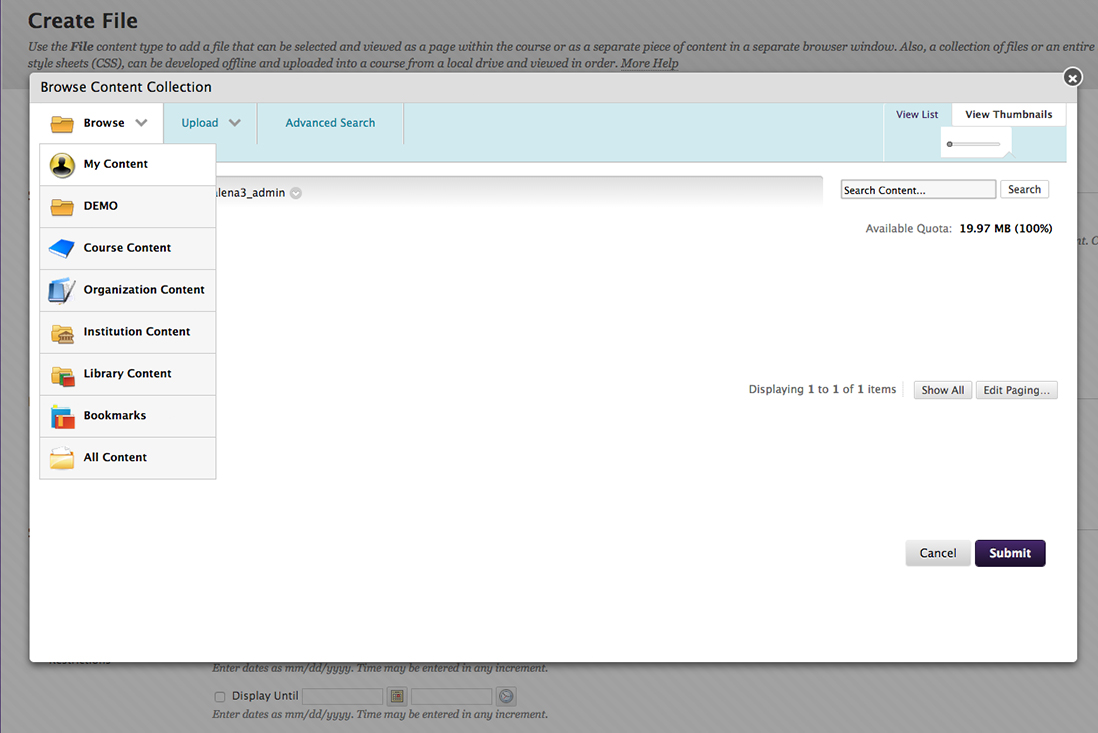
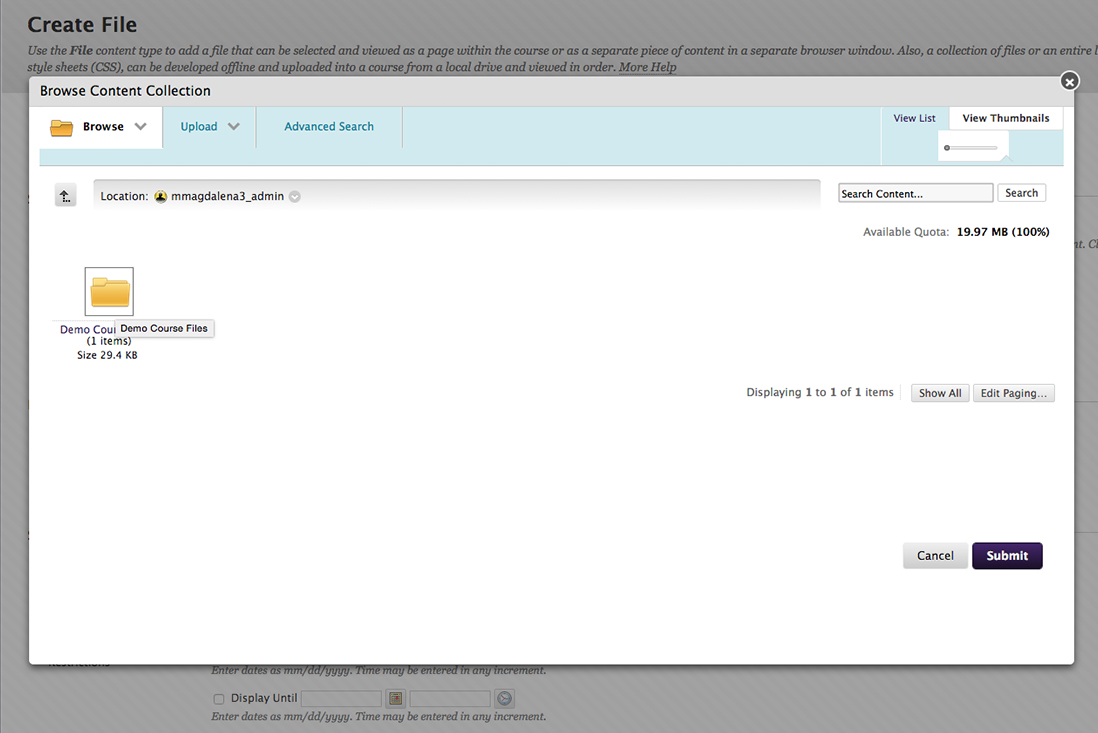
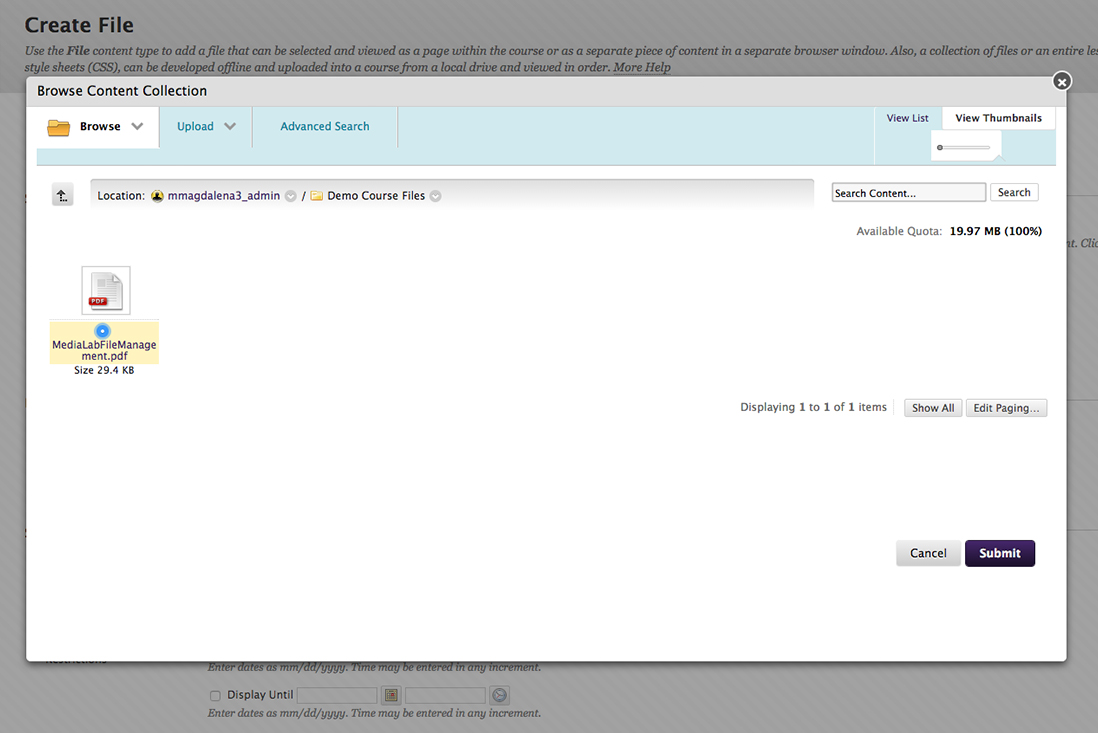
Browse the Content Collection instead of your computer. In the upper drop-down menu, select My Content to view all your content. Navigate through your folders to the file you desire and select it.
Click Submit when you have completed selecting your file and provided additional text (if needed). Now the PDF is in your Learning Module!